Sonar 3D-15 Quickstart🔗
This guide will help you connect and access the Sonar 3D-15 GUI so you can explore its features. You can follow the steps below or watch the accompanying video.
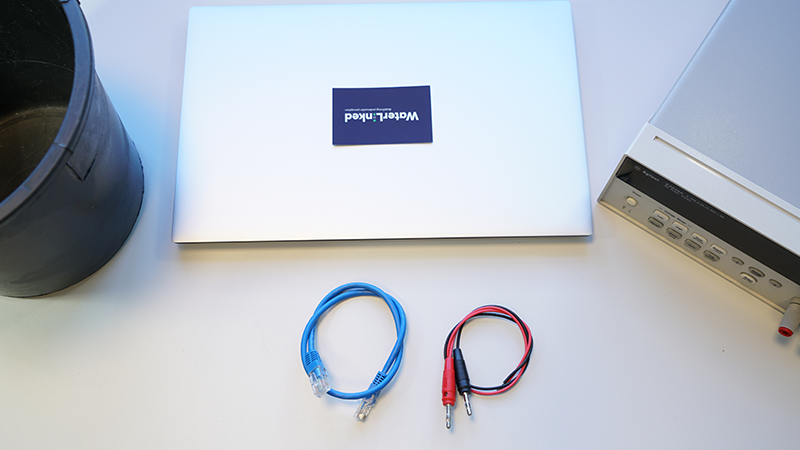
Requirements:
- Water Linked 3D sonar
- Power source (10-30V DC, 60W surge)
- Power connector
- Computer
- Ethernet cable
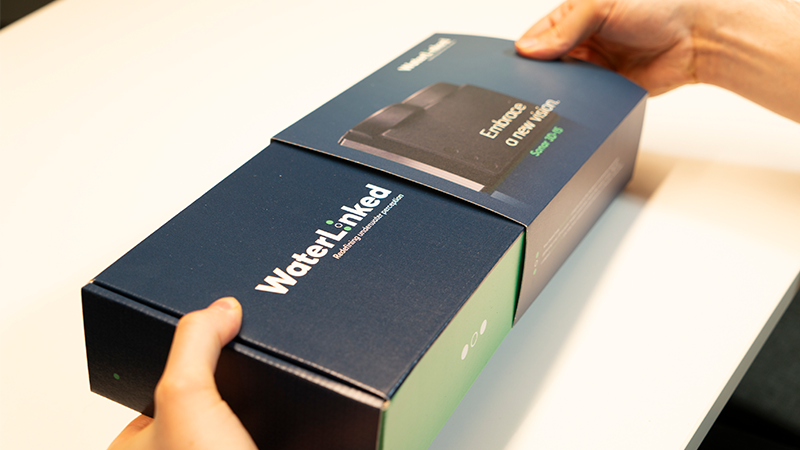
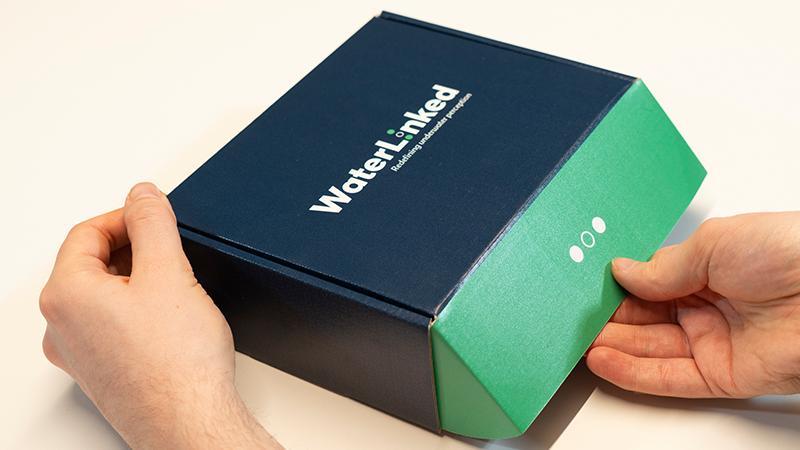
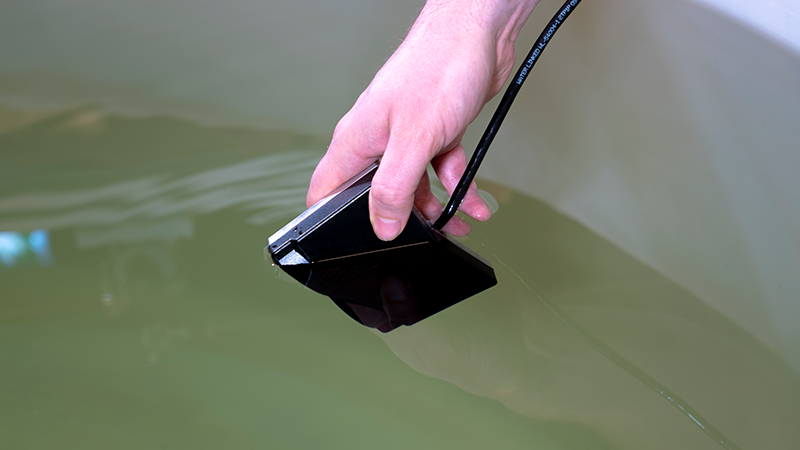
1. Unbox and place in water🔗
Unbox the Sonar 3D-15 and place the Sonar 3D-15 in a water container (e.g., a bucket or tank). Avoid getting water on the I/O board.
2. Connect the Ethernet cable🔗
Plug one end of the Ethernet cable into your computer's Ethernet port, and connect the other end to the Sonar's I/O board.
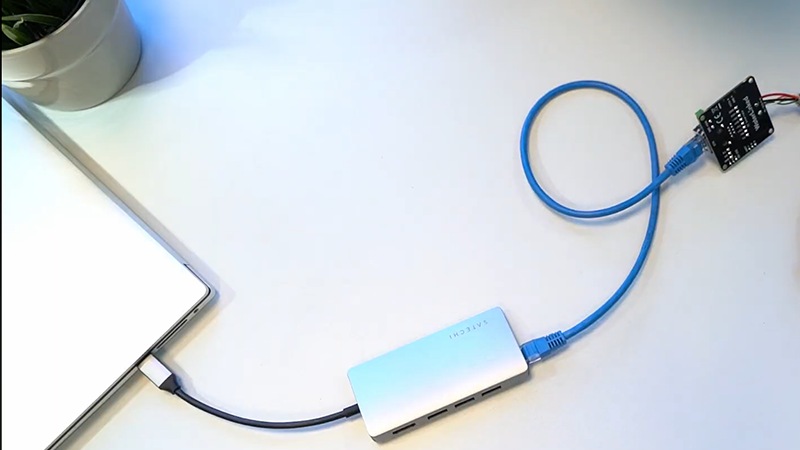
3. Connect a power supply and boot the Sonar🔗
- Connect your power supply to the I/O board. Use a power supply capable of delivering 60W (surge) at 10-30V (20+ V recommended).
- Turn on your power supply. Your Sonar 3D-15 takes about 30 seconds to boot.

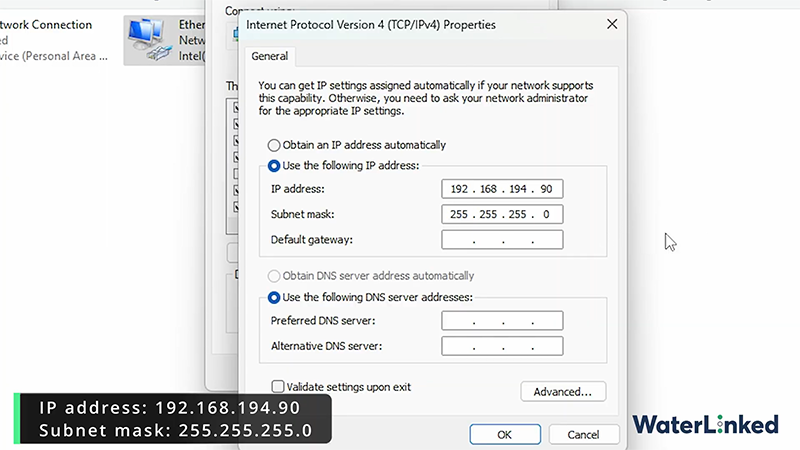
4. Configure your computer’s IP🔗
Assign your computer an IP address in the 192.168.194.x range (e.g.: 192.168.194.90 with netmask 255.255.255.0).
Note
Configuring network varies between operating systems and versions. Please search the web on how to do this for your operating system. Feel free to contact us for support.
See more details in the Networking section.
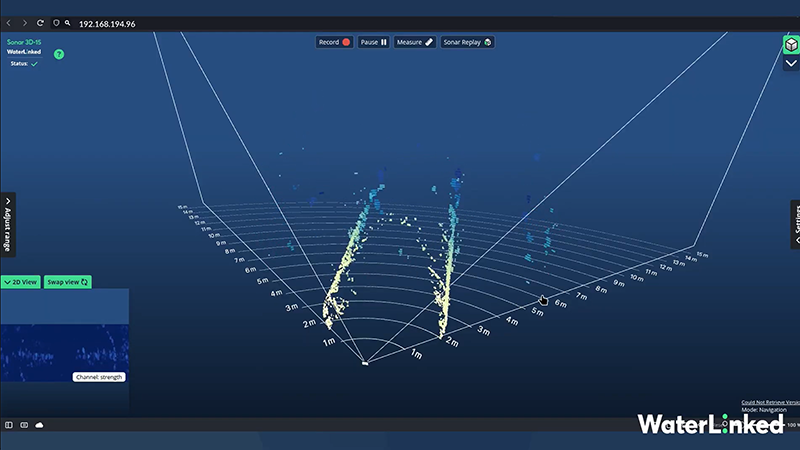
5. Access the Sonar GUI🔗
Open up your web browser (e.g.: Chrome) and enter the fallback IP address 192.168.194.96. You should now be able to see and use the Sonar 3D-15 GUI.
Need help?🔗
Check out the FAQ!